

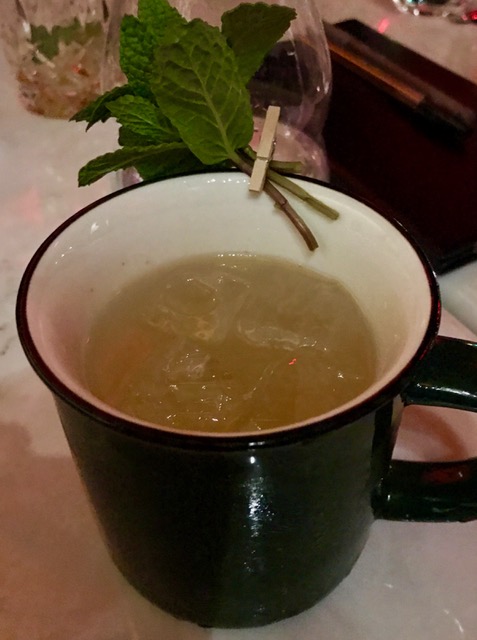
Many of you have asked which restaurant serves authentic Italian foods such as the ones I’ve taught in my culinary courses. My latest discovery is in Montreal – Du Boucher à la Table/La Grotte des Fromages (From Butcher to Table). It is a cheese and meat deli that has now become a trattoria. It lets you BYOB without charging a corkage fee. This eatery has cool people, great southern Italian foods and a staff that rocks!

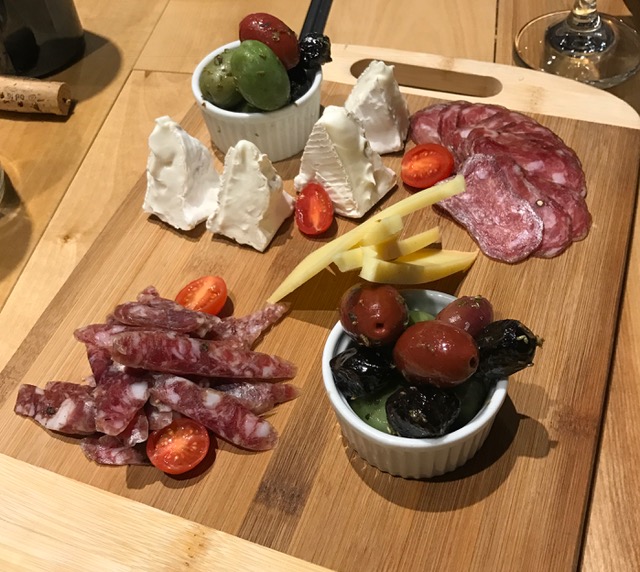
To start with, the butcher shop next door supplies the restaurant with homemade sausages, salami and prosciutto.
Keep in mind that Montreal, Quebec is home to two waves of Southern Italian immigrants. Some arrived at the turn of the 20th-century – my grandfather of the region of Molise was part of this group. The second wave, including my Neapolitan father, arrived in the 1950’s.
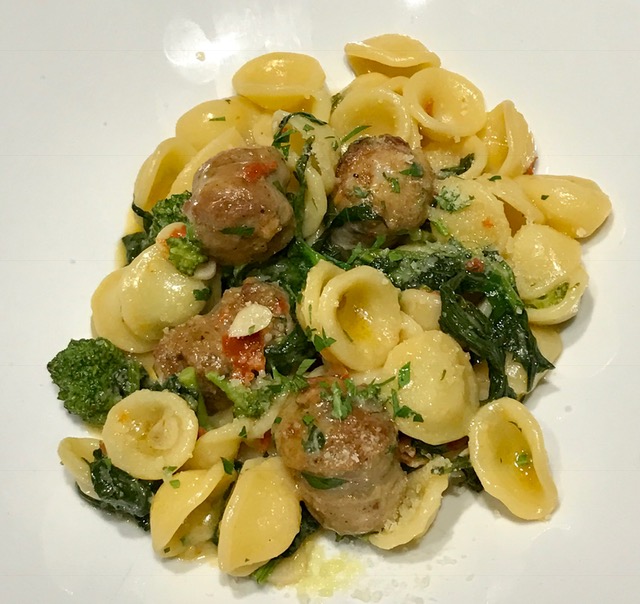
The succeeding generations of Italians have cherished the foods they were raised with. One of these dishes is orecchiette with rapini and sausage. At Boucher, prime extra virgin olive oil, homemade sausage and rapini coat each bite of pasta. It doesn’t get more comforting than this on a cold February evening!
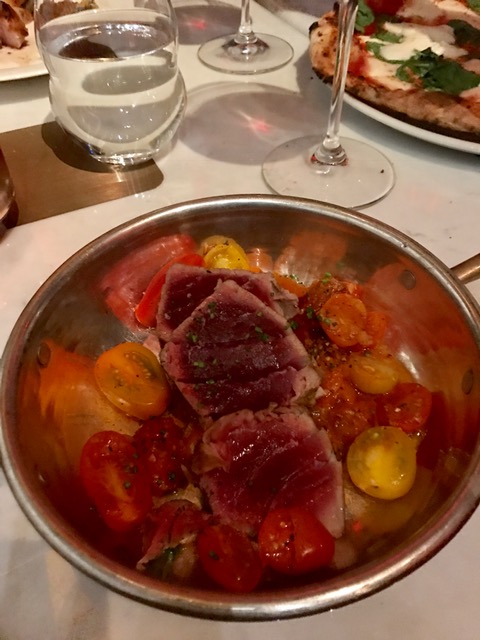
Even non-meat eaters can enjoy the feast here. The tuna tartare is melt-in-your-mouth fresh. No chewing is necessary.

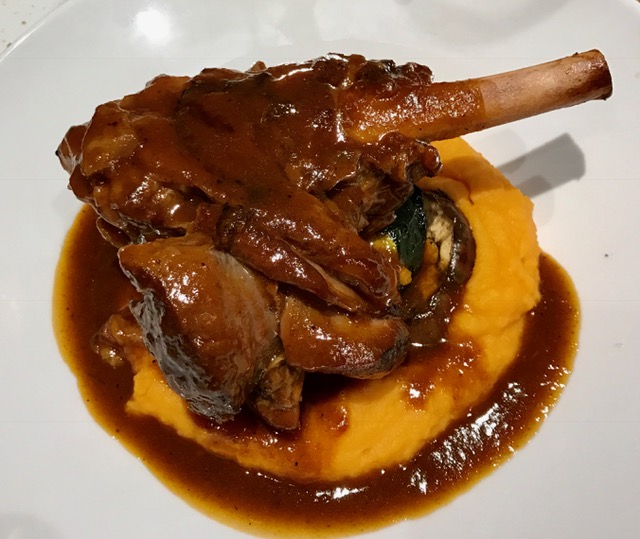
For you carnivores, the stinco di agnello is lamb shank braised in a demi-glaze sauce. A gentle touch of the fork, and the meat falls right off the bone.
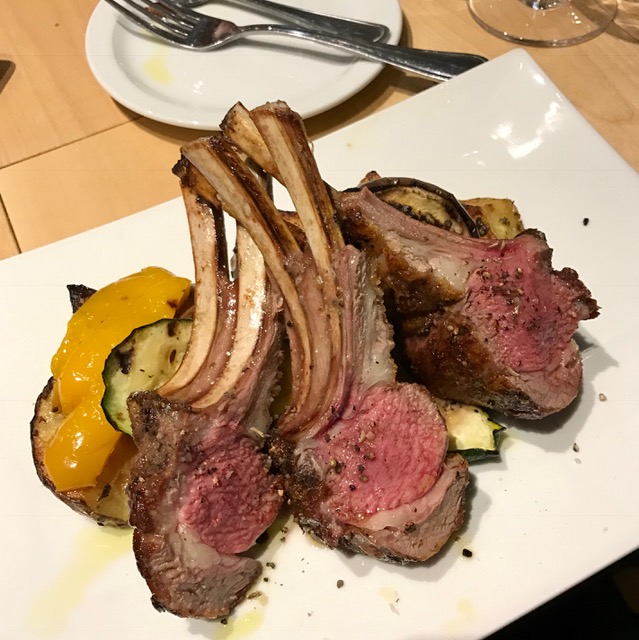
When I tasted the rack of lamb, I was astounded by the fact that it didn’t have that gamey odor. So I asked Boucher’s manager Dominic, “How do you manage to get that lamb odor out of this exquisite meat?” He responded, “Quebec sheep graze by the Atlantic Ocean. The ocean’s salt evaporation permeates the grass. In turn, the grass’s salt results in tender and odor-free meat.”
After our feast fit for a king, Johnny gave us a tour of the butcher shop next door. Notice the 45-day old aged beef that he’s pointing at!

Boucher also carries fine gourmet foods. The Sicilian sea salts are flavored with chili peppers, fennel and more.

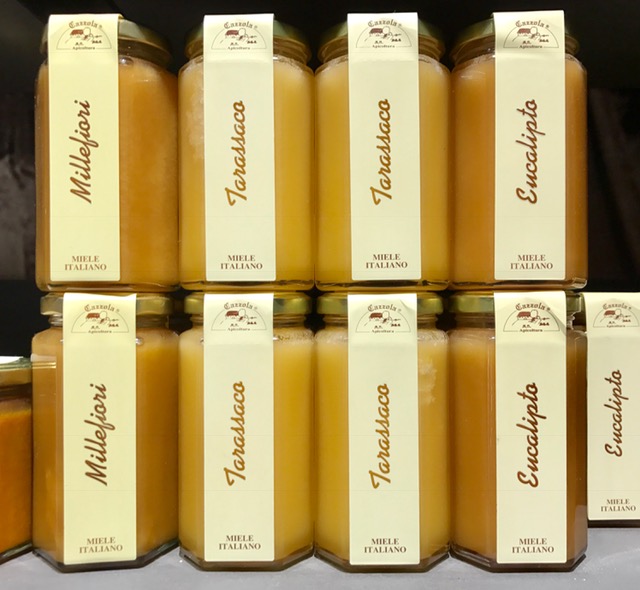
Of all the honey varieties imported from Italy, my favorite was the eucalyptus honey.
Many thanks to All at Du Boucher a la Table and to Dominic who always ensures a fine dining experience!
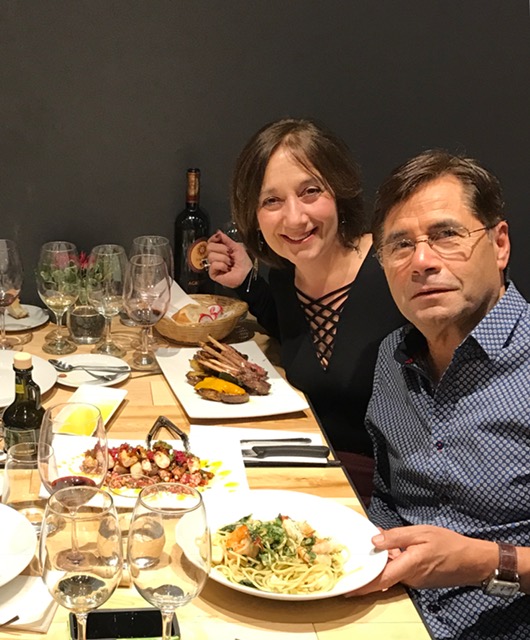
We loved this place so much that we went back three times!
Du Boucher a la Table – La Grotte des Fromages
4919 Rue Jarry E, Saint-Léonard, QC H1R 1Y1
Tel. 514.321.3733
Text & Photographs ©2017 Nancy DeLucia Real


 Nancy DeLucia Real is an art historian and chef. She has led culinary courses at the Italian Cultural Institute, The Getty Center and The Getty Villa and is a former member of the Culinary Historians of Southern California. Nancy's gastronomy training took place in the heart of Italy under the tutelage of her grandmother. She has taught international cuisine at Williams Sonoma and Sur la Table Stores. Nancy's art history & culinary courses are ongoing at various institutions. She also teaches private cooking classes.

