My recent trip to Spain (from April to May, 2014) lasted one glorious month. Traveling from north to south, every day in Spain proved to be adventurous and educational.
On April 7th, my husband and I began our adventure in the Basque country (Northern Spain). We rented an apartment in San Sebastian and went on day trips from there.
As an art historian, I couldn’t wait to get to the city of Bilbao, home to the Guggenheim Museum which opened in 1997. Architect Frank Gehry designed the structure which is made of titanium, glass and limestone. It was hailed the most important building of its time. Although it was a gray day when we arrived, the museum’s curvilinear exterior was dynamic, as though it were a living, breathing organism.
As we walked around, we were pleasantly surprised by Jeff Koons’ colorful Tulips in Bilbao sculpture. Tulips was created by the artist and permanently installed at the Guggenheim Bilbao in July 2006. Isn’t it delightful? Koons is well-known for his balloon animals, made of stainless steel, with a mirror-like finish. He also designed the cover for Lady Gaga’s third album, ARTPOP, released in 2013.

Architecture is a work of art (the art of making buildings). As such, it is best viewed from different perspectives. Walking further around the museum, we discovered a sculpture, Maman, created by Louise Bourgeois in 1999. This monumental spider is made of bronze, marble and stainless steel. The artist made this as a tribute to her mother, a weaver. While spiders are predators, they weave cocoons and can thus be seen as maternal symbols.
When standing directly below Maman, you can look up and see the spider’s belly, consisting of a black net containing eggs. I think it’s so cool to look up and see those large white eggs!

The exhibitions and objects from the permanent collection of the Guggenheim Museum are organized by the Guggenheim Foundation and the Guggenheim Museum Bilbao.
Once you enter the museum, you should first view Richard Serra’s The Matter of Time (see image below). Here’s a tip: take the elevator up to the next floor and get a birds’ eye view of this mind-boggling installation. It is composed of rolled sheets of steel which are curved along the horizontal and vertical axes, as though made of tin. The solid sheets are 2 inches thick, up to 50 feet long and 14 feet high. Due to their excessive weight, the only rolling mill in the world that could handle them was the mill at Siegen, Germany.
Notice the spaces between those sheets. As you walk through the spaces, you are at once inside the art object as well as a part of it. You can talk or shout – listen to your echo.

As I walked inside these immense steel walls, I found myself disconnecting from the world around me, losing sense of reality or time. It was so awesome! The photo below was taken as I stood between Serra’s steel units.
As soon as I walked into the galleries and saw this painting, I said, “Mmmm, the bodies are missing. I wonder who made this?” The artist is José Manuel Bellester, from Madrid. His masterpiece is called Raft of the Medusa, a photographic print on canvas, 2010.
Bellester looks at the works of past masters. He then removes the characters but keeps the background. These magnificent pieces are a result of combining digital photography and painting. While contemplating this object, you could almost imagine yourself stepping onto the raft.

Here’s the image that inspired Bellester – Raft of the Medusa, an oil painting by Théodore Géricault, made 1818-1819, The Louvre.

Next up, we saw The Body That Carries Me, by Ernesto Nieto, a native of Rio de Janeiro, Brazil. The works of this artist are designed to be walked through, inhabited, smelled and felt. By going through the art object, the viewer (in this case, the participant) experiences his or her own body, mind and senses. Nieto debates the plight of humanity – the temperature, movement and language of things we come into contact with are the essence of our existence.

I observed school groups interacting with The Body That Carries Me. I heard students shouting with glee as they sank into soft materials, holding onto the seemingly fragile netting. Were these children experiencing the insides of their own bodies? Was it warm or cold? Did they feel free or trapped? Just as the students try grabbing onto whatever they can to stabilize themselves and run forward, I feel that this is what we do every day of our lives.
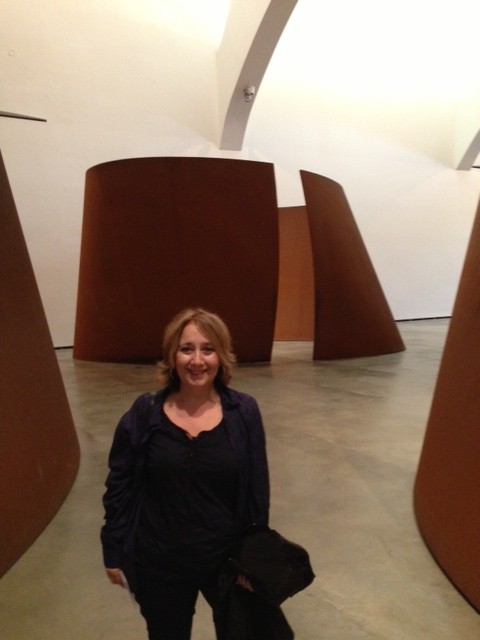
Like children, we were overtaken by hunger pangs and desperately needed to eat. We found Batzokia, a restaurant located at Tenderia, 17 Bajo. From the moment we walked in and were seated, it felt as though our hosts had been waiting for us (this was an impromptu discovery, btw). We chose the menu de el dia (menu of the day). It cost 20 euros per person, including wine.
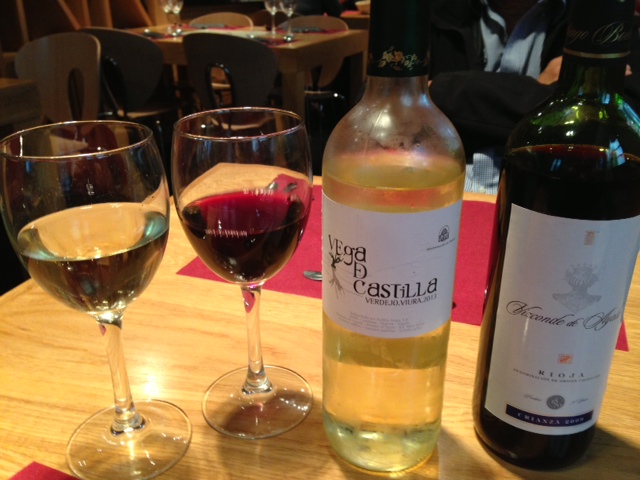
I ordered white and my husband ordered red wine. The wine was excellent, dry with a smooth finish – this is how I like it. I was shocked to learn that both bottles would be left on the table throughout our meal – thank God we traveled by bus that day!
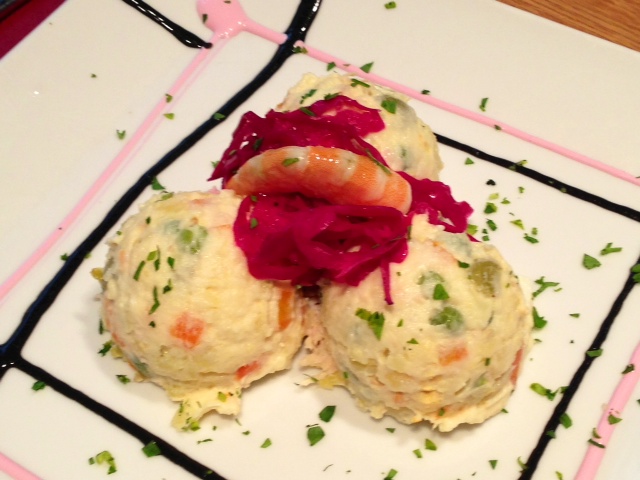
For the appetizer, I ordered a potato salad. If this isn’t art on a plate, I don’t know what is! All ingredients in the foods prepared at Batzokia are locally grown, in the Basque region of Northern Spain. The potatoes tasted earthy; the shrimp was wild and sweet (unlike the bland flavors of farm-raised shrimp).
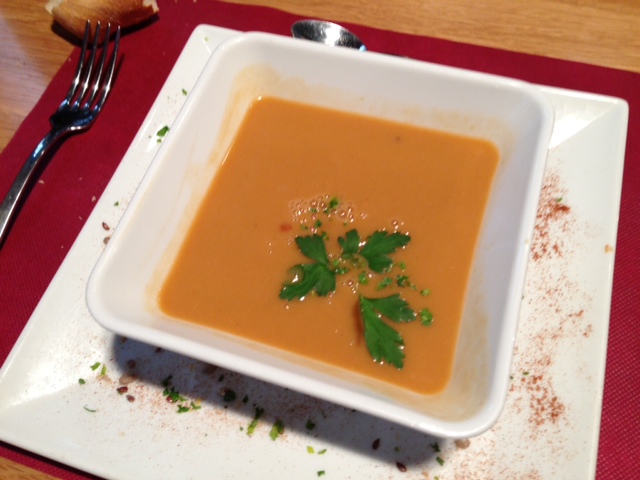
Victor (my husband) ordered seafood chowder – the flavors were subtle, fresh and robust.
The main dish consisted of filet of codfish. It had that melt-in-your-mouth freshness. Practically jumping out of the ocean and onto our plates, the baccala was not “fresh frozen” as in most restaurants.

Finally – the part I die for – DESSERT! It consisted of puff pastry with homemade chocolate gelato and Chantilly cream. How’s that for a grand finale?

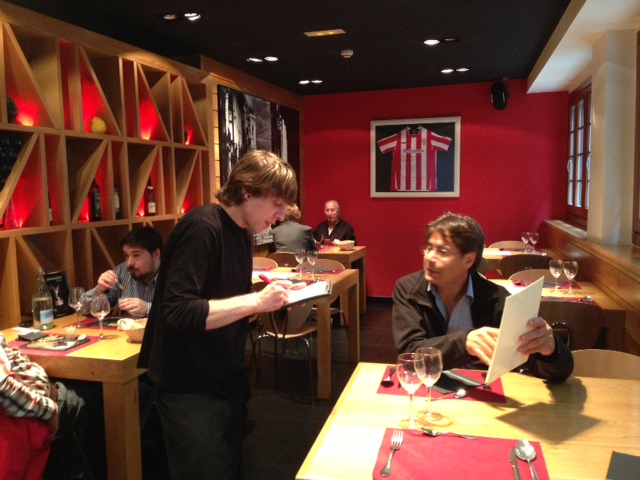
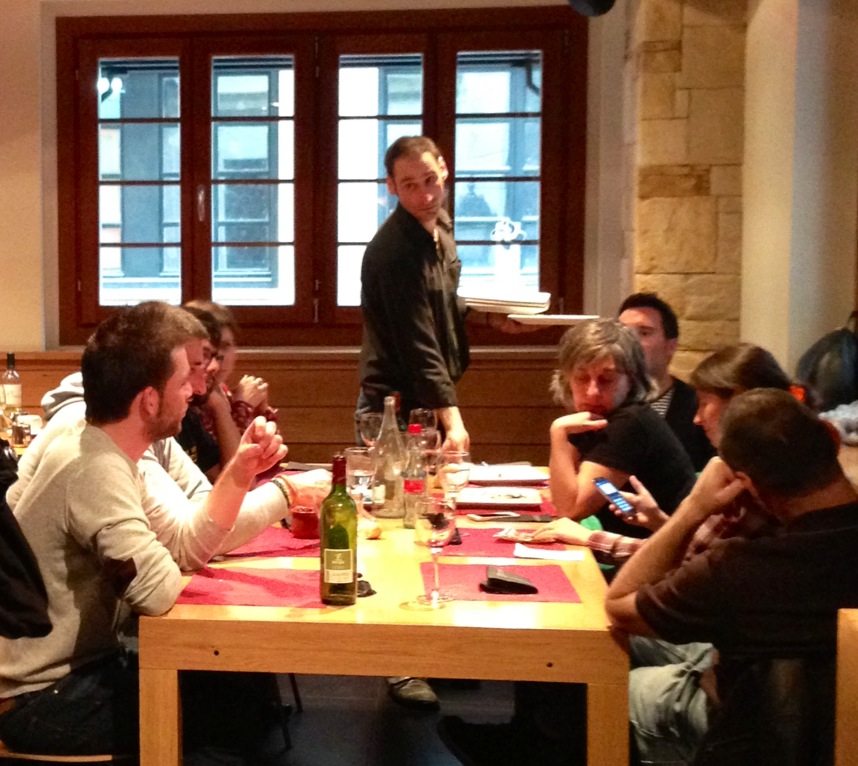
The ambiance at Batzokia is casual, cool and trendy. The servers are extremely professional with their attention to detail and their warm personalities. Based on your preferences, you hear their true opinions on what dish might be best for you.
I enjoyed Bilbao so much that I would hop on a plane and fly back there just for the day!
For info on Guggenheim Bilbao, go to: http://www.guggenheim-bilbao.es/
For info on Batzokia Restaurant, go to: http://www.baibatzokia.com
Text and Photographs ©2014 Nancy DeLucia Real
Exception: Photograph of Raft of the Medusa by Théodore Géricault is in the public domain of the United States, and those countries with a copyright term of life of the author plus 100 years or less.


 Nancy DeLucia Real is an art historian and chef. She has led culinary courses at the Italian Cultural Institute, The Getty Center and The Getty Villa and is a former member of the Culinary Historians of Southern California. Nancy's gastronomy training took place in the heart of Italy under the tutelage of her grandmother. She has taught international cuisine at Williams Sonoma and Sur la Table Stores. Nancy's art history & culinary courses are ongoing at various institutions. She also teaches private cooking classes.

