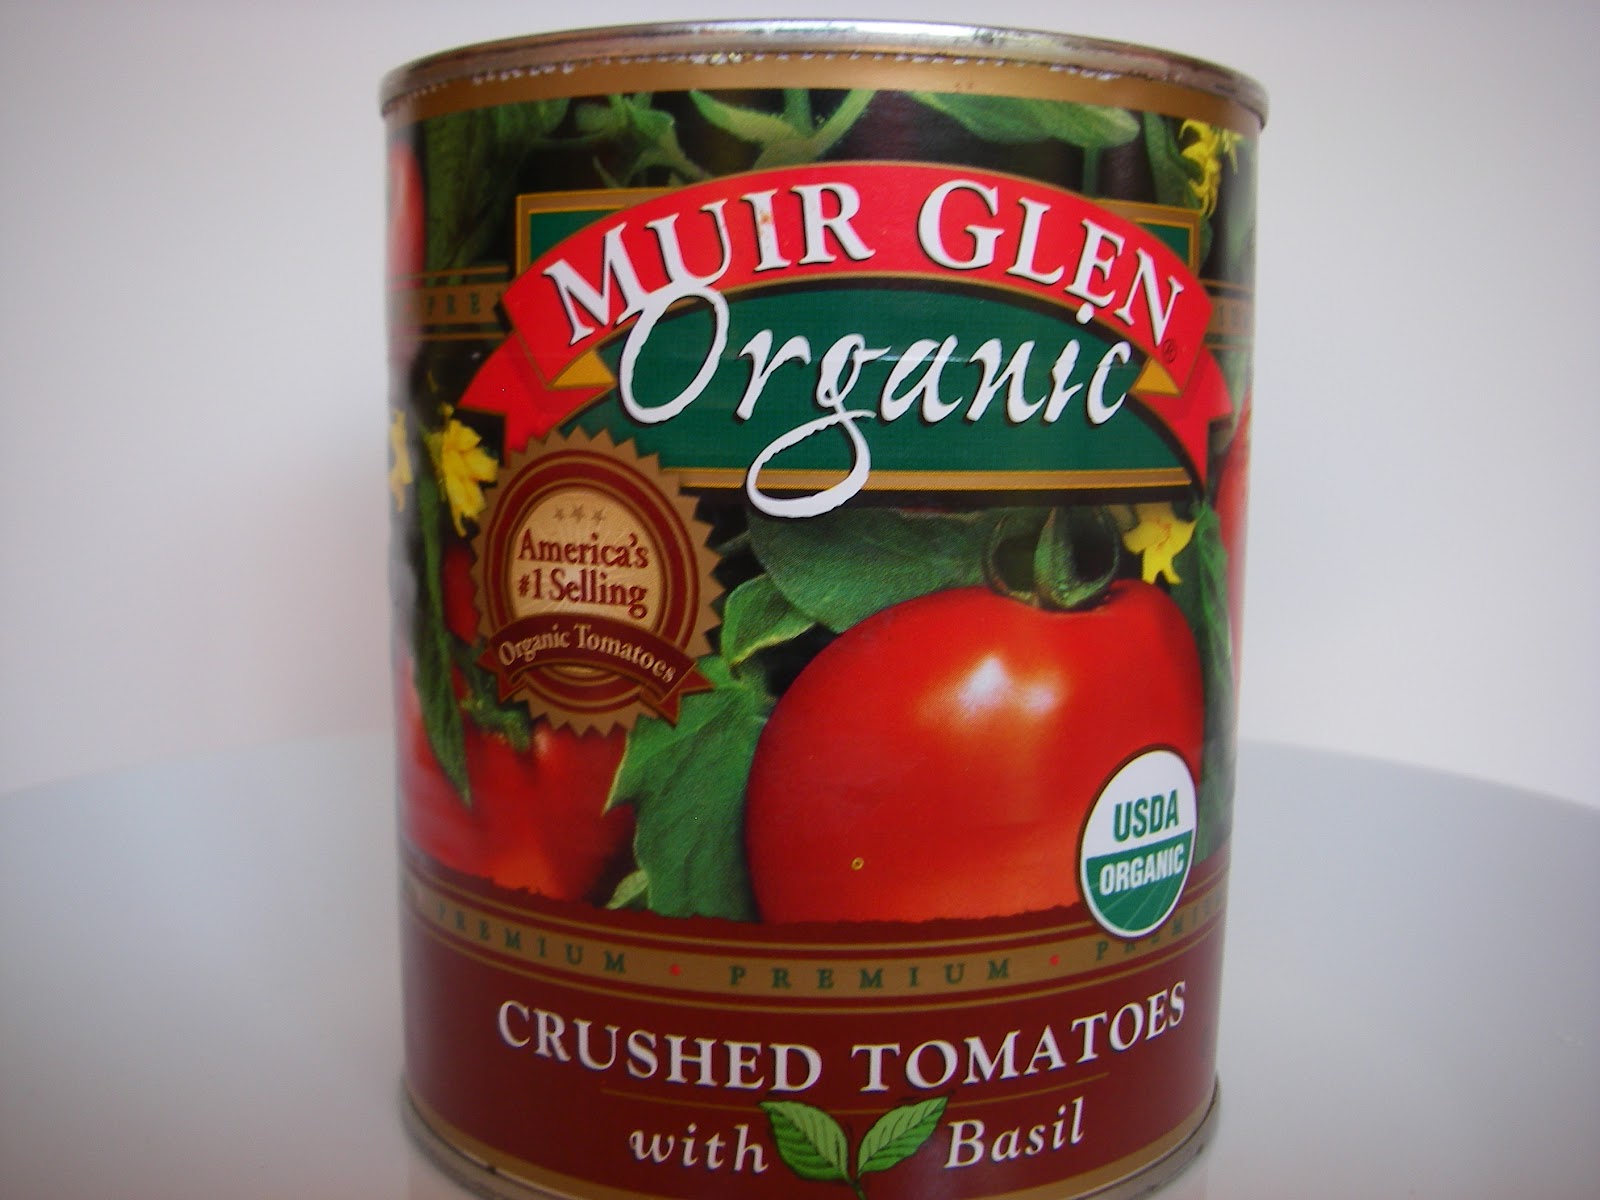
All Posts By: NANCY DeLUCIA REAL

Home » Articles posted by NANCY DeLUCIA REAL (Page 52)

Pesto Grilled Turkey

In Poultry On September 2, 2011 0 Comments

Turkey cutlets or breast can sometimes be tough and tasteless. Transform this dry meat into a gourmet selection by marinating it in pesto and then grilling it. The pesto marinade coats the meat on the outside while making it flavorful throughout. And if you don’t feel like a cookout, don’t fret – Pesto Grilled Turkey is equally delicious when broiled or grilled in the oven.

Active Prep time: 20 minutes
Inactive prep time: 30 minutes (for marinating)
Serves: 4 to 6

Ingredients:
1 to 1½ pounds Trader Joe’s® turkey cutlets or breast (boneless)
¾ cup prepared pesto sauce (see Cilantro Pesto, published on this website on April 28, 2011)*

1. In a large glass or porcelain bowl, evenly coat the turkey cutlets with pesto sauce.

2. Cover and marinate in the refrigerator for 30 minutes.

Outdoor Cooking Method:

3. After 30 minutes of marinating, grill the turkey cutlets on an outdoor grill, 5 to 7 minutes per side (check doneness by slicing the cutlet in half – the cut side should be white, as opposed to pink).

Indoor Cooking Method:

1. After 30 minutes of marinating, arrange the cutlets on a foil-lined baking sheet.

2. Place the baking sheet 6 inches away from oven’s top broiler or grilling element.

3. Grill turkey cutlets for 7 to 9 minutes per side (check doneness as in above directions).

Serve cutlets with a side of Jalapeño Slaw (published on this blog on August 24, 2011).

Wine pairing suggestion: Chilled Pinot Gris, Pinot Grigio or your favorite white wine.

*Note: Store-bought, traditional basil pesto sauce can also be used in this recipe.

Text & Photograph © 2011 Nancy DeLucia Real

Jalapeño Slaw

In Sides On August 24, 2011 0 Comments

Raw cabbage is delicious when shredded in salads or in slaws. Rather than sticking to creamy slaws, I keep mine light – I toss the shredded cabbage with mustard-lime dressing and some Jalapeño pepper. The crunchy texture and tangy flavors of this Jalapeño Slaw contrast very well with grilled meats, fish or chicken. Make this recipe for all your barbeques!

Using a mandolin cutter, finely shred the cabbage and the carrots. In a salad spinner, wash both the shredded cabbage and carrot; drain and spin.

Prep time: 20 to 25 minutes
Serves: 4 to 6

Ingredients:
½ of a green cabbage head (yields about 6 cups when shredded)
1 to 2 carrots, peeled
1/3 cup red onion, finely sliced
1 to 2 teaspoons minced jalapeño pepper
Juice of ½ lime
½ teaspoon Dijon® mustard
3 tablespoons rice vinegar
3 tablespoons sesame oil
2 tablespoons brown sugar
½ to ¾ teaspoon salt

1. In a large salad bowl, combine the shredded cabbage and carrots with the onion and 1 teaspoon minced Jalapeño pepper; set aside.

2. In a 2-cup mixing bowl, whisk together the lime juice, mustard, vinegar, oil, sugar and lesser amount of salt.

3. Pour the dressing over the cabbage mixture. Toss the slaw and taste. Adjust Jalapeño and salt level, if necessary.

Serve immediately or refrigerate up to 2 hours before serving.

Jalapeño Slaw keeps 1 day, refrigerated. By the second day the slaw will become soggy and wilted.

Note: The hand-shredding, mandolin technique results in finely shredded cabbage.

Text & Photograph © 2011 Nancy DeLucia Real

Mochi Watermelon Ice Pops

In Fruit and Jams, Fun Foods On August 21, 2011 0 Comments

Yesterday was a HOT day and I felt like eating something fresh and fun! I immediately thought of picking up a sweet, crisp watermelon at the supermarket – a delicious summer fruit. For the fun part, I was thinking of frozen treats or yogurt and all the toppings that I go crazy over (especially those chewy bits of mochi). I think you figured it out, right?

These watermelon pops are lots of fun – each bite is a curious surprise!

Active prep time: 10 minutes
Inactive prep time: 4 hours or overnight (for freezing)
Makes: 10 ice pops

Ingredients:
4 cups watermelon chunks (1-inch pieces)
Juice of 2 limes
1/2 cup cold water
1/2 cup unbleached, granulated sugar
10 plastic ice pop molds
1 cup mini mochi pieces (available at most frozen yogurt stores)

1. Put the watermelon, lime juice, water and sugar in a blender and “pulse-blend” until ingredients are mixed, but not watery. Taste and adjust sugar or lime juice levels.

2. Divide the watermelon mixture evenly among 10 ice pop molds.

3. Place a few mochi pieces on top of the watermelon mixture in each mold.

4. Add plastic ice pop stick or wooden popsicle stick and freeze 4 hours or overnight.

To Unmold Mochi Watermelon Ice Pops:

1. Place exterior section of ice pop molds underneath hot, running water until the ice pops fall out.

2. When unmolding, if ice pops are watery all around, place them on a metal baking sheet and return to freezer for 3 to 4 minutes. Serve.

Text and Photograph © 2011 Nancy DeLucia Real

Desperation Salad

In Salads On August 13, 2011 0 Comments

ENTER OUR KITCHEN, WATCH & LEARN

 What do you do when you look in the fridge expecting to find that barbeque chicken YOU bought but only see two chicken legs and thighs? First, you have to get over the fact that your own family members cheated you out of the best part of that chicken. Once the trauma’s over, your creative wheels start spinning. And then, you make a meal of whatever items you desperately grab in the fruit/veggie drawer.

All of the above happened to me last month. I ended up creating one of the most artistic and delicious salads I’ve ever made in my life – here it is.

Prep time: 10 to 15 minutes
Serves: 2

Ingredients:
2 barbequed chicken legs, skin and bone discarded and meat cut into cubes
2 barbequed chicken thighs, skin and bone discarded and meat cut into cubes
2 celery stalks, peeled and thinly sliced (diagonally)
1-1/2 cups diced Cantaloup melon
1 large, vine-ripened tomato, cubed
3 tablespoons slivered Italian flat-leaf parsley (do this with cooking shears or scissors)
3 to 4 tablespoons extra-virgin olive oil
Juice of half a lime or lemon
Salt and ground black pepper, to taste

1. Combine all ingredients in a large salad bowl.

2. Toss and taste.

3. Adjust seasonings, if necessary.

Wine pairing suggestion: Chilled Verdejo (white).

*Note: I prefer two types of chicken: organic chicken from Wholefoods® stores; and Mary’s Free Range Chicken® (vegetarian diet; no antibiotics or preservatives).

Text & Photographs © 2011 Nancy DeLucia Real

Shrimp Miramar (Havana, Cuba)

In Fish & Shellfish On August 5, 2011 0 Comments

About a month ago, I was introduced to this exquisite shrimp dish in Miramar, a lush suburb of Havana, Cuba. The recipe is known by a few names – Shrimp Creole, Shrimp Enchilados and Shrimp a la Cubana. It consists of fresh, wild-caught shrimp, tomatoes, bell pepper, white wine and some other wonderful ingredients. While most recipes utilize canned tomatoes and ketchup, I prefer fresh, organic tomatoes and a little sugar.

Back in Havana, accompanied by my husband and friends at a “paladar particular” or privately-owned restaurant in Miramar, the entire experience was as delicious as the shrimp.

Prep time: 50 to 55 minutes
Serves: 4 to 6

Ingredients:
6 to 8 medium vine-ripened tomatoes (organic, if possible)
1 red bell pepper, halved (seeds and stem discarded)
1 medium white or brown onion
2 cloves garlic, peeled and whole
1/3 cup extra virgin olive oil
1/3 cup dry white wine or dry Sherry
1 tablespoon brown sugar
2 bay leaves
Dash ground cumin (less than 1/8 teaspoon)
1 teaspoon salt
Dash ground black pepper
*1 to 1-1/2 pounds large shrimp, deveined and shells discarded
[*Use 1 pound for 4 people; 1-1/2 pounds for 6 people]

1. Place tomatoes and bell pepper pieces in a 6-quart saucepot and cover with cold water.

2. Cover, bring to a boil and cook for 5 minutes.

3. Drain the tomatoes and bell pepper pieces; cover them with cold water and set aside 5 minutes (they will cool quickly for easy handling).

4. After 5 minutes, peel the tomatoes, discarding skins and green stems.

5. Place tomatoes and bell pepper pieces in a blender.

6. Purée and strain the tomato mixture into a large glass or porcelain bowl; set aside.

7. Meanwhile, in a food processor, finely chop together the onion and garlic; set aside.

8. In a 12-inch skillet, heat the oil. Stir the onion and garlic mixture into the oil and sauté on medium heat about 2 to 3 minutes or until onion is translucent.

9. Stir the puréed tomatoes, wine or Sherry, sugar, bay leaves, cumin, salt and black pepper into the sautéed onion mixture. Simmer on low heat, stirring occasionally, about 6 to 8 minutes.

10. In the meantime, rinse the shrimp under cold water and drain.

11. Add the shrimp to the simmering sauce and cook on medium-low about 6 to 7 minutes or until shrimp is white and opaque.

12. After 6 minutes of cooking, taste a shrimp – it should be crunchy but not tough or overcooked.

Serve immediately, accompanied by steamed white rice or Cuban Black Beans & Rice, previously published on this blog.

Wine pairing suggestion: Chilled Pinot Grigio or Chardonnay.

Text & Photograph © 2011 Nancy DeLucia Real